
Realistic drawing is a rewarding and skillful art form that requires patience, observation, and practice. Whether you’re just starting out or looking to improve your skills, mastering the basics is essential. In this guide, we’ll explore the key elements that form the foundation of any realistic drawing, helping you develop your technique and take your artwork to the next level.
1. Observation: The Key to Realism
The first step in creating a realistic drawing is learning how to observe your subject. This means looking closely at shapes, proportions, textures, and light. Try not to rush through the process; take the time to study your subject from different angles. The better you understand what you’re drawing, the more accurate your representation will be.
Tips for Observation:
- Break the subject into simple shapes like spheres, cylinders, or squares. This makes it easier to draw complex objects.
- Take breaks and return to the subject with fresh eyes. This can help you notice details you might have missed.
- Use reference images or draw from real life to practice your observation skills.
2. Basic Shapes and Structure
Everything in the world can be broken down into basic shapes, and understanding this concept is fundamental in realistic drawing. By starting with simple shapes, you can map out the structure of your subject before adding details. These foundational shapes create a framework for your drawing, helping to establish accurate proportions and perspective.
Common Basic Shapes to Focus On:
- Spheres: Good for drawing round objects like heads, balls, and fruits.
- Cylinders: Perfect for objects like bottles, cans, and limbs.
- Cubes: Ideal for drawing boxes, buildings, or rectangular objects.
Building up these basic shapes in your drawing ensures that your proportions are accurate and that everything fits together in a realistic manner.
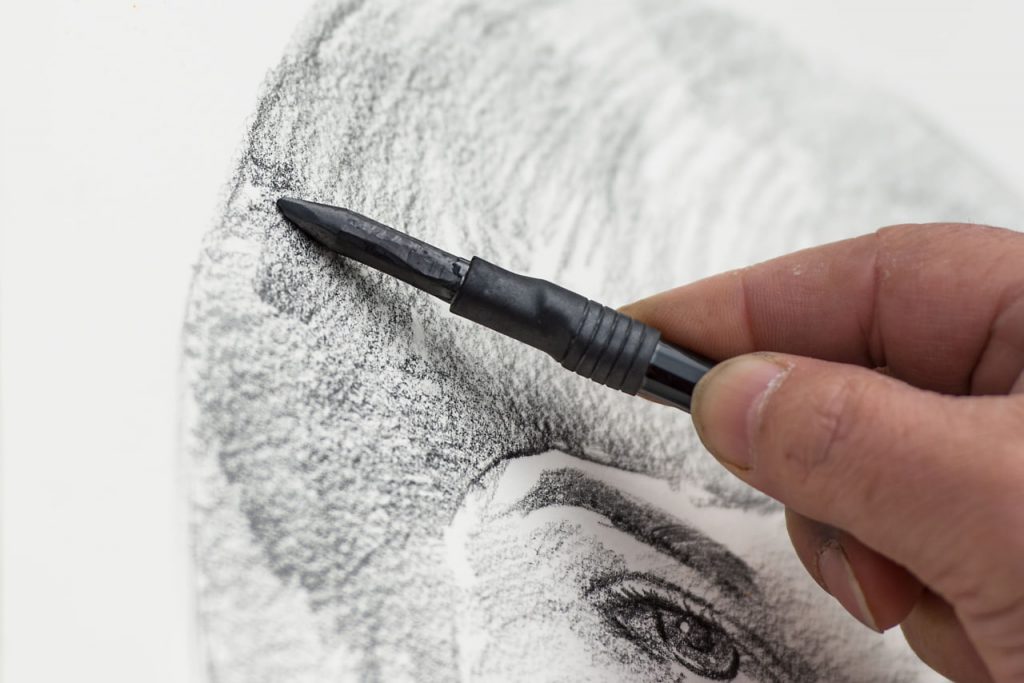
3. Shading and Lighting
Shading is what brings your drawing to life, creating depth and volume. Understanding how light interacts with your subject will help you add realistic shadow and highlight details. Start by identifying the light source in your reference image, and then observe how shadows fall across the subject. Pay attention to both the darkest areas and the brightest highlights.
Shading Tips:
- Use different pencil grades to create varying levels of darkness. Softer pencils (like 6B) create darker, richer shadows, while harder pencils (like 2H) are great for light shading.
- Blend your shading to create smooth transitions between light and dark areas.
- Practice cross-hatching or stippling for texture and more defined shadows.
4. Perspective and Proportions
One of the most important aspects of realistic drawing is ensuring that your subject is in the correct perspective and proportions. Mistakes in these areas can make your drawing appear distorted or flat. Spend time learning about vanishing points, horizon lines, and how objects shrink as they move away from the viewer.
Perspective Tips:
- Use guidelines to help place objects in the right position.
- Check proportions by comparing the size of various elements in your drawing.
- Practice drawing basic objects in perspective before moving on to more complex scenes.
5. Patience and Practice
Realistic drawing doesn’t happen overnight. It requires dedication, focus, and a lot of practice. Remember, every artist starts with the basics and builds upon them. Don’t be discouraged by mistakes; instead, view them as opportunities to learn and grow.
Practice Tips:
- Dedicate time each day to sketching, even if it’s just for a few minutes.
- Try drawing the same object from different angles or in various lighting conditions.
- Challenge yourself with more complex subjects as you gain confidence.
By mastering these basic principles, you’ll be well on your way to creating stunning realistic drawings. Stay consistent, observe carefully, and keep honing your skills. The more you practice, the more your drawing will evolve and improve!